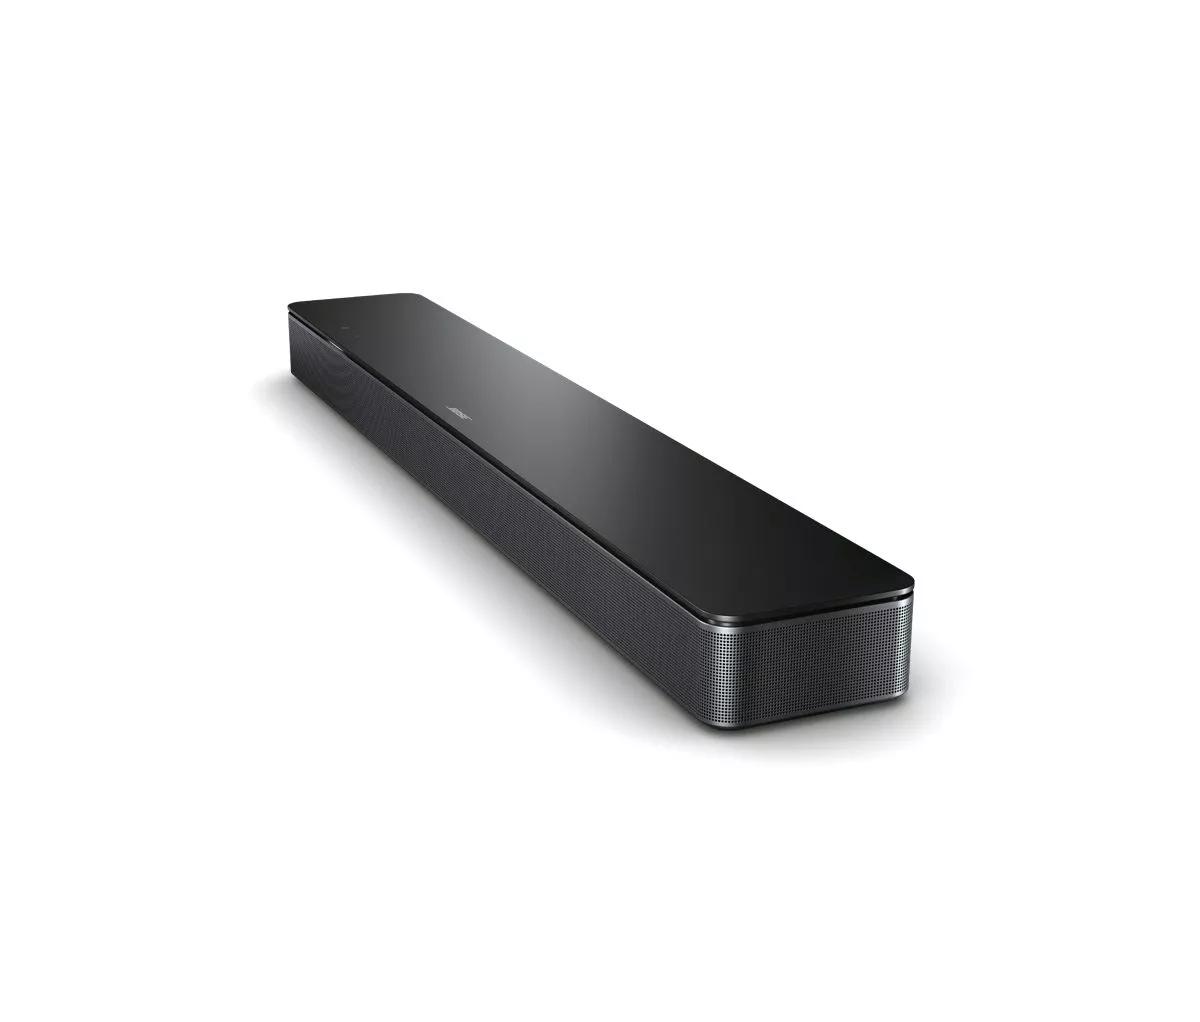

Setting up your product | Bose Smart Soundbar 300
Set up the Smart Soundbar 300.
Before you begin
- Install the Bose app
on your Apple or Android mobile device.
- Turn on Bluetooth® on your mobile device
- If using a wired Internet connection, connect an Ethernet cable from the <...> jack on the soundbar to an router or access point
- If you've already connect the soundbar to power, the light bar on the front should be glowing amber. If it isn't, you will need to put the soundbar into Setup mode.
Set up your soundbar
- If the soundbar is not connected to power, connect a power cord from the soundbar to a power outlet. The light bar will blink for approximately 30 seconds as it powers up, then glow amber
- On your mobile device, open the Bose app. If you are not signed in, sign in or create an account
- If prompted to allow Location Service, Local Access Network, or Bluetooth® permissions for the app, allow them. These functions are used so the app can detect and control your product. If you do not allow them, the app will not find your product
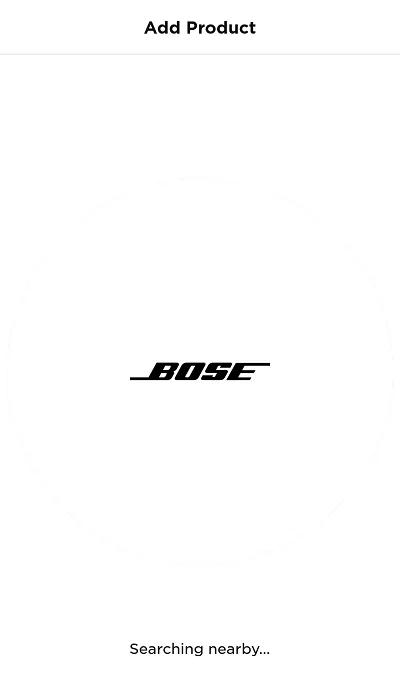
- The app will begin to search for products (in Setup mode) compatible with the Bose app
- If product image shown is not your soundbar, swipe left to see other products, then tap Add.
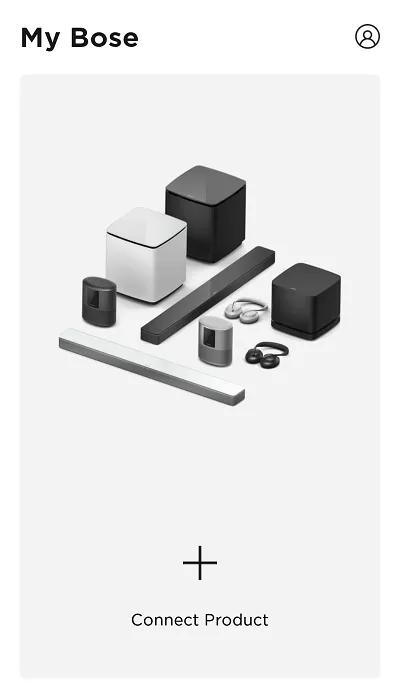
If the Set Up New Product screen does not appear, tap the My Bose iconin upper-left corner, then tap the + to add a product
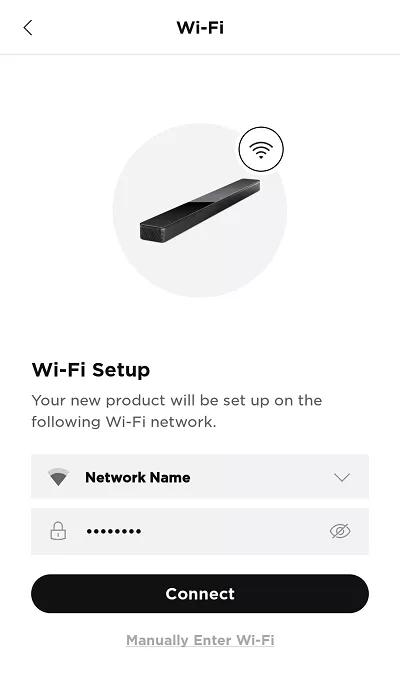
If the app cannot find your product, see the FAQs below - Select your wireless network and enter the network password, then tap Connect
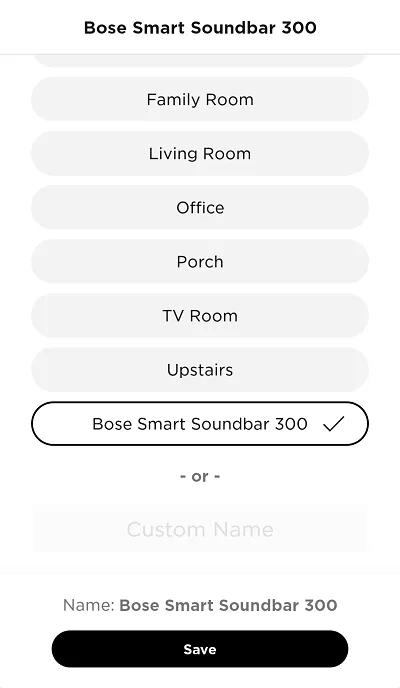
For hidden networks, tap Manually Enter Wi-Fi, then enter the network info - Select a name for the soundbar or enter a custom name, then tap Save at the bottom of the screen
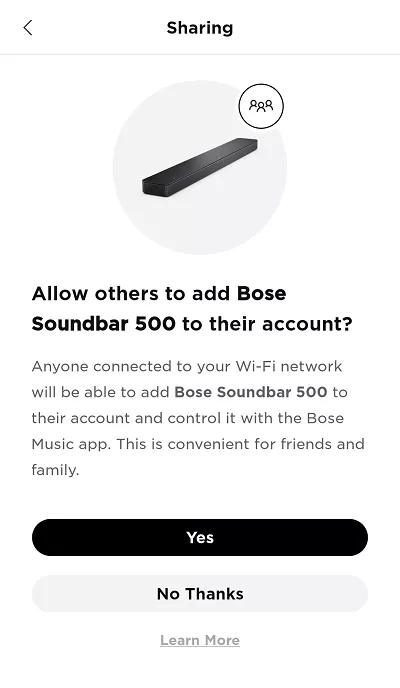
- On the Sharing screen, select Yes to let other Bose accounts on your network use this product also. Or, select No Thanks to keep this product only on your account
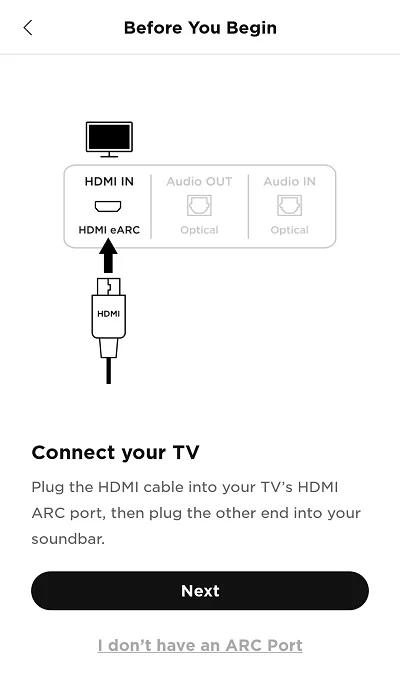
- Connect an HDMI cable from the HDMI ARC jack on the soundbar to the HDMI ARC (or eARC) jack on the TV, then tap Next
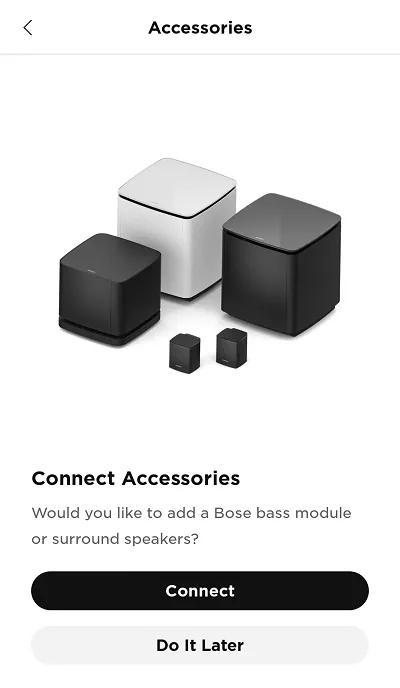
HDMI ARC (Audio Return Channel) lets the TV to send audio to your soundbar. If the TV does not have an HDMI connection labeled ARC or eARC, see the FAQs below. - If you're using the accessory bass module or surround speakers, tap Connect; otherwise, tap Do It Later
- For more info on any of the following optional steps, see the FAQs below.
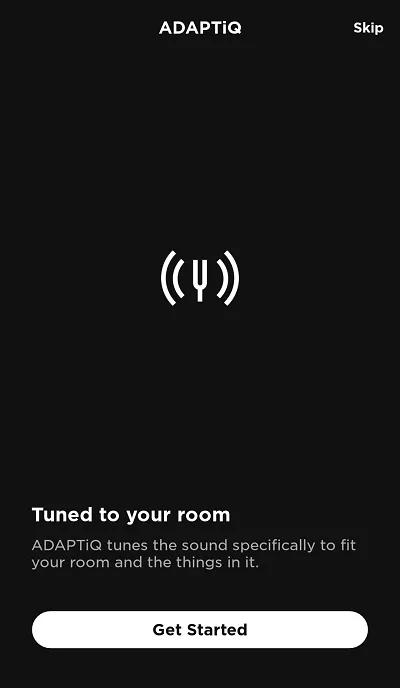
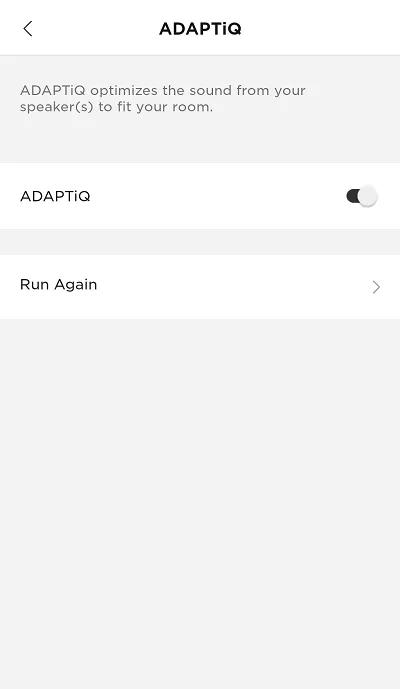
- On the ADAPTiQ screen, tap Get Started to optimize sound quality.
Calibration is recommended and typically takes a few minutes. To do this later, tap Skip in upper-right corner - Select Set Up Now to program your universal remote; otherwise, select Do It Later.
- Select the voice assistant you want to use and follow the app instructions to add it. If you don't want to use an assistant or want to add one later, tap Skip in the upper-right.
- On the ADAPTiQ screen, tap Get Started to optimize sound quality.
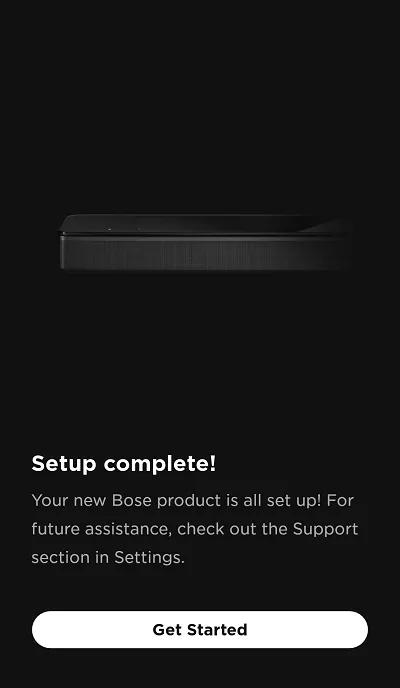
- Tap Get Started to start using your soundbar
Frequently Asked Questions
How do I download the Bose app?
How do I put my Soundbar into Setup Mode?
To enter Setup mode:
- On the remote control, simultaneously press and hold the Mute and Music buttons for five seconds until the light bar on the soundbar glows amber.
- For next steps, refer to the Bose app or back to the previous help article.
How do I sign in or create an account in the Bose app?
Sign out or sign in to the Bose app.
Signing out
- In the Bose app, tap the My Bose icon
in upper-left corner
- Tap the My Account icon
in the upper-right corner
- Scroll down to the bottom of the screen and tap Sign Out.
Signing in
Before you begin
- Install the free Bose app
from the Google Play store and the Apple App Store. For more info, see Downloading the Bose app
- If you have an existing Bose account from a different Bose app or the Bose website, you can sign in using the credentials for that account
To sign in:
- In the Bose app, tap Sign In or Create Account
- Choose how you want to sign in:
- To sign in using an email address, tap Sign in with Email
- To sign in using an Apple ID, tap Sign in with Apple
- To sign in using a Facebook ID, tap Sign in with Facebook
- Enter the required information and follow the app instructions to create your account.
Create a Bose account using the Bose app.
Before you begin
- Install the free Bose app
from the Google Play store and the Apple App Store.
- If you have an existing Bose account from a different Bose app or the Bose website, you can sign up using the credentials for that account
Create an account
- Open the Bose app and tap Sign In or Create Account
- At the bottom of the screen, tap Create One
- Choose how you want to create an account:
- To create an account using an email address, tap Sign up with Email at the bottom of the screen
- To create an account using an Apple ID, tap Sign in with Apple
- To create an account using a Facebook ID, tap Continue with Facebook. We recommend signing in with an email rather than a phone number. This way, you can stay up-to-date with info about your product and reset your password, if needed
- Enter the required information and follow the app instructions to create your account.
What do I do if the app does not detect my product?
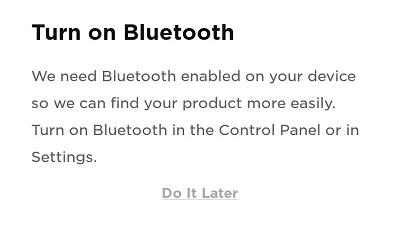
Be sure the device's Bluetooth® function is turned on.
If Bluetooth is off, the following message will appear when device discovery is initiated:
Check that the device running the Bose app is close to your Bose product.
For iOS devices, disable Wi-Fi Assist.
On your device, turn Wi-Fi off and back on.
On the device running the Bose app, go to the Wi-Fi settings and turn Wi-Fi off and back on again.
Reset your product.
Much like rebooting a smartphone, your product might need to be reset on occasion to correct minor issues. For more information, see Resetting your product.
Reboot the device running the Bose app.
Reboot your router.
In your mobile device settings, be sure location and network permissions are turned on for the app.
- For iOS devices:
- Go to Settings > Privacy > Local Network and be sure it is not disabled for the Bose app.
- Go to Settings > Privacy > Location Services and be sure it is not disabled for the Bose app.
- For Android devices, touch and hold the app icon, then tap App Info from the pop-up that appears. On the App Info screen, tap Permissions and be sure Your location is enabled.
Close and reopen the Bose app.
On an iOS device:
- Double-tap the home button to view running apps
- Swipe left or right to find the app
- Swipe up on the app to close it
- Press and hold the app icon
- Select the app info (or the info icon)
- Select Force Stop
If you are unable to connect to Wi-Fi using the Bose app, try the alternate connection method.
- Put the speaker into Setup mode.
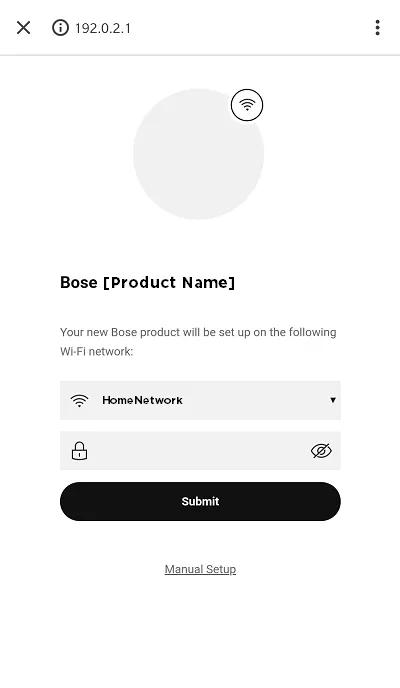
- On a computer or mobile device, open its Wi-Fi settings menu and connect to the network name that begins with Bose followed by the product name.
For Android device users, a notification may appear stating that the Wi-Fi has no internet access, open the notification and select Yes to stay connected. - Open a web browser and go to http://192.0.2.1 to view the set up screen.
- Select your home Wi-Fi network name from the drop-down list and enter the network password.
If the desired network name does not appear in the list, select Manual Setup then enter the name of your network, select its security type, and enter its password. - Tap Submit. The speaker will disconnect from your device and connect to your network.
- Return to the Bose Music app.
- If your product is already listed, it should now show as available.
- If your product does not appear, tap + to re-add it.
- If this speaker not the first one associated to your account, tap the My Bose icon
in upper-left corner then tap +.
- Follow the app instructions to complete the set up.
If your router broadcasts more than one network (i.e. 2.4 GHz, 5 GHz, Guest), give the networks different names.
In your router settings, try temporarily disabling the 5 GHz network and guest network. If the issue is resolved by using only the 2.4 GHz network, rename he 5 GHz network and guest network to something different than the 2.4 GHz network (i.e. MyNetwork2G, MyNetwork5G. and MyNetworkGuest). This will help you and your devices identify the correct network. (Tip: If you rename a network, any devices that were connected to the previous network name will need to be reconnected to the new network name in the device settings menu.)
In the router settings, try disabling Wireless Isolation mode, Wireless AP mode, or Access Point mode.
If your Wi-Fi network uses an extender (like a Wi-Fi repeater, powerline adapter, or access point), try bypassing it.
- If it does not improve, the issue is not related to the extender.
- If it does improve, try reconnecting the extender. Sometimes it can help to connect extenders after connecting to the main network.
- If it does improve but returns after reconnecting the extender, the issue could be related to the extender, its settings or placement.
Restore the system to its factory defaults and restart the set up process.
What do I do if my TV does not have an ARC port?
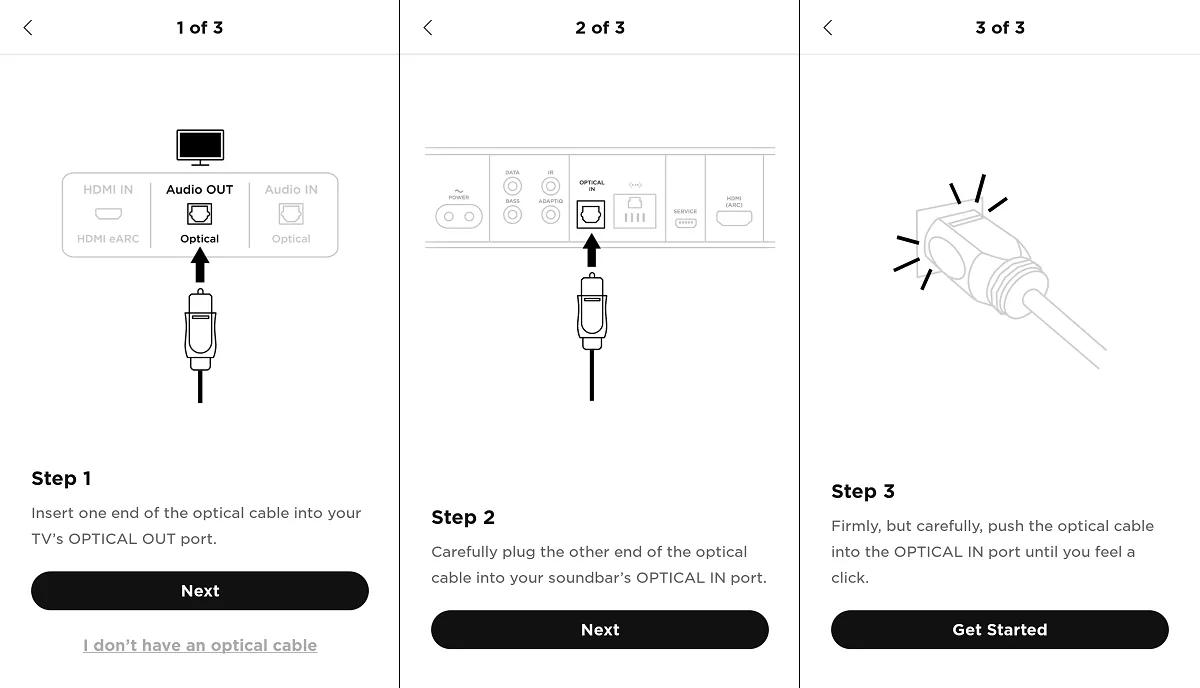
If your TV does not have an ARC/eARC port
You can connect with an optical cable instead. Audio is identical on your system since both cables can supply the audio formats that the soundbar supports. HDMI, however, offers additional benefits such as Consumer Electronics Control (CEC) functionality.
While an Optical connection does not support CEC, see Turning Auto-wake on or off to allow your soundbar to turn on with your tv.
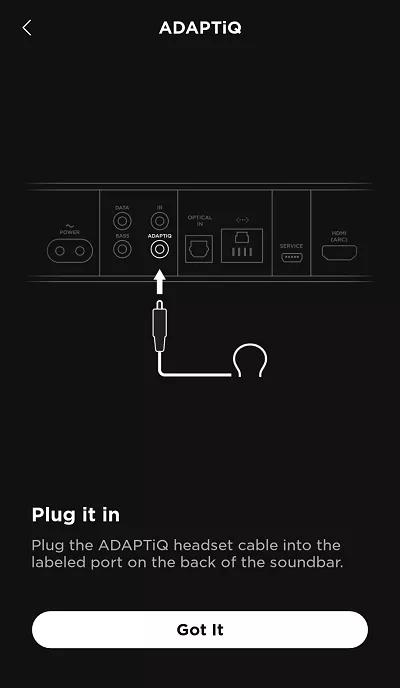
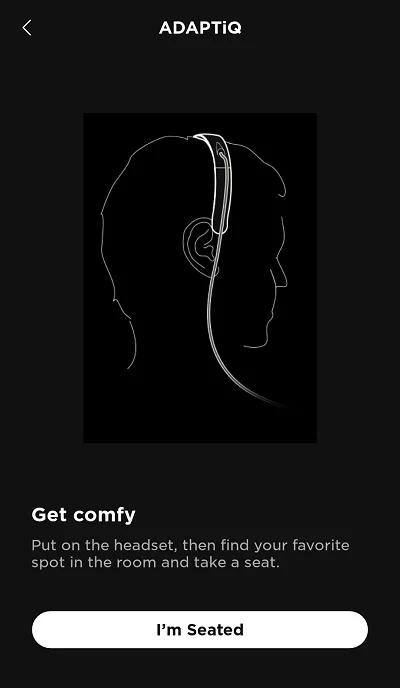
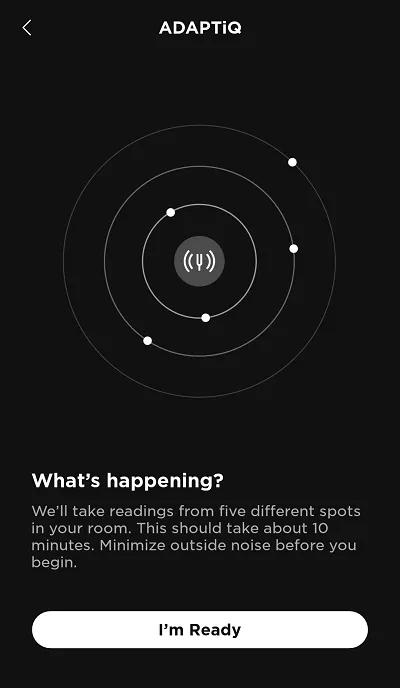
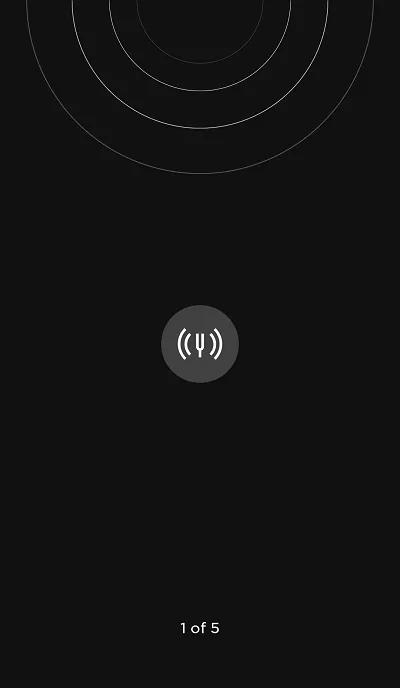
How do I calibrate my soundbar with ADAPTiQ?
To run ADAPTiQ audio calibration:
- In the Bose app, tap the Audio button. If this button is not shown, tap the product control icon
in the lower-left corner.
Tip: If you have more than one Bose smart speaker, tap the My Bose iconin upper-left corner then select the product to be adjusted.
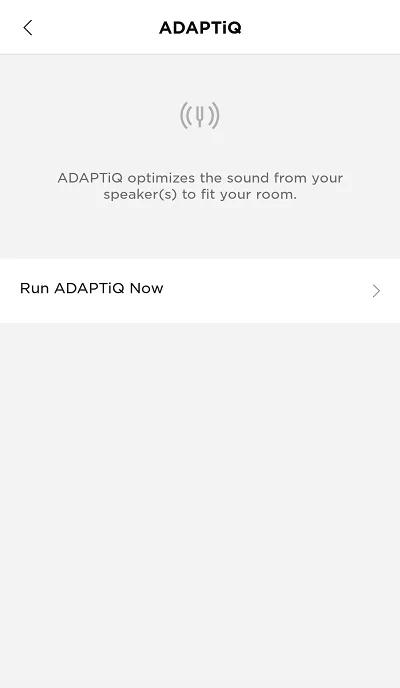
- Select ADAPTiQ.
- Select Run ADAPTiQ Now.
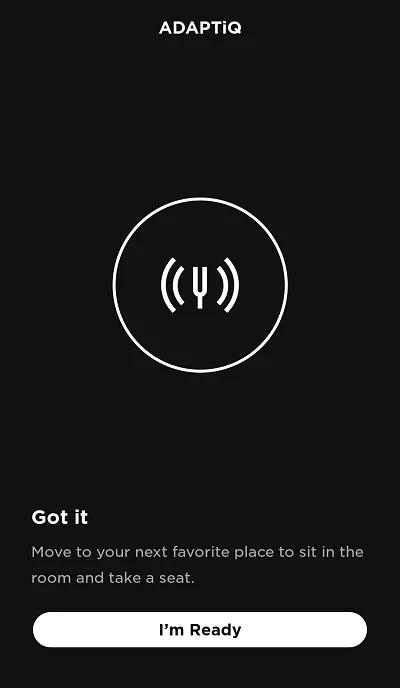
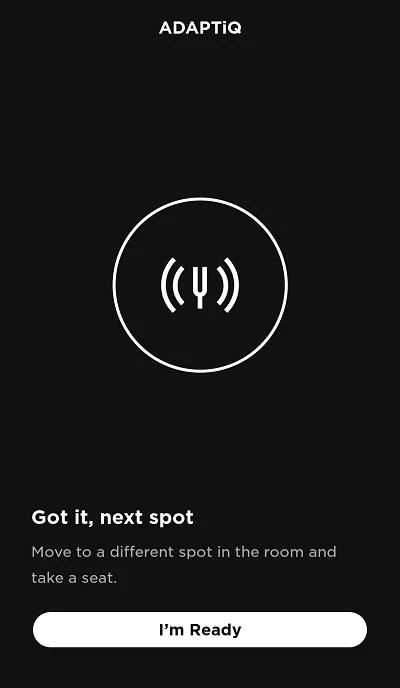
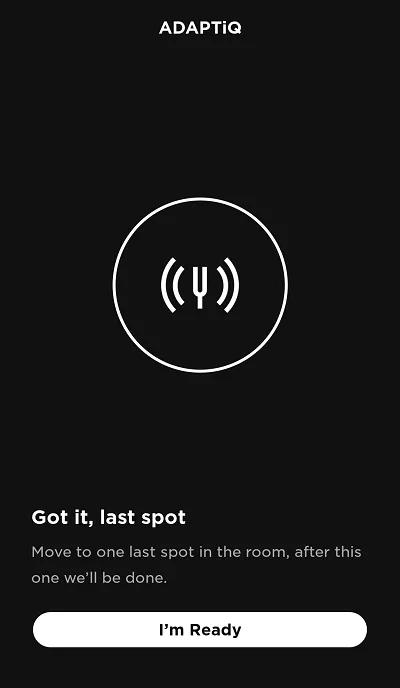
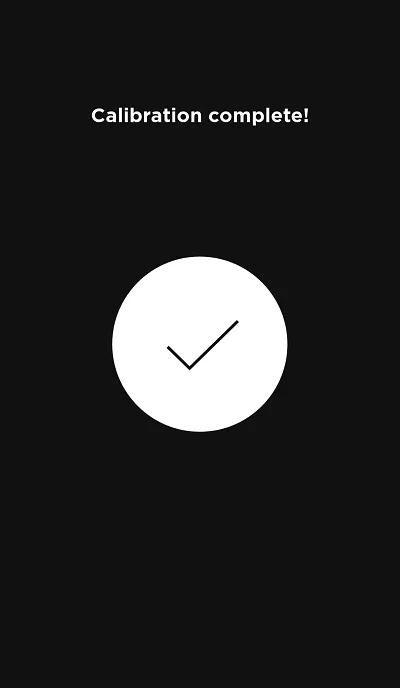
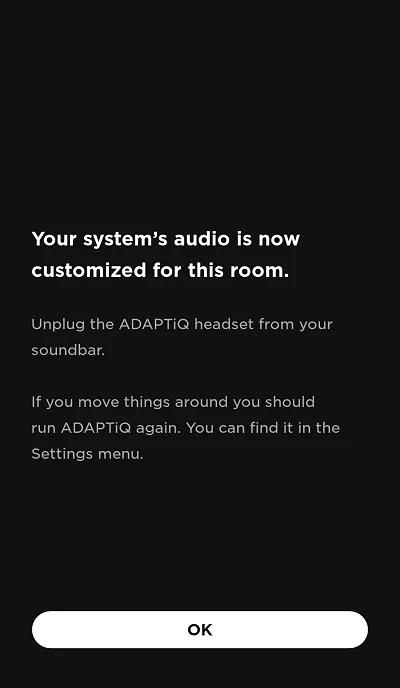
- Follow the app instructions. The following screens appear:
How do I set up Google Assistant?
To add the Google Assistant:
Note: If you have multiple products in your household, we recommend using the same Google account for all products.
- In the Bose app, tap the Settings icon
in the upper-right corner.
Tip: If a different product is shown, tap the My Bose iconin upper-left corner then select the desired product.
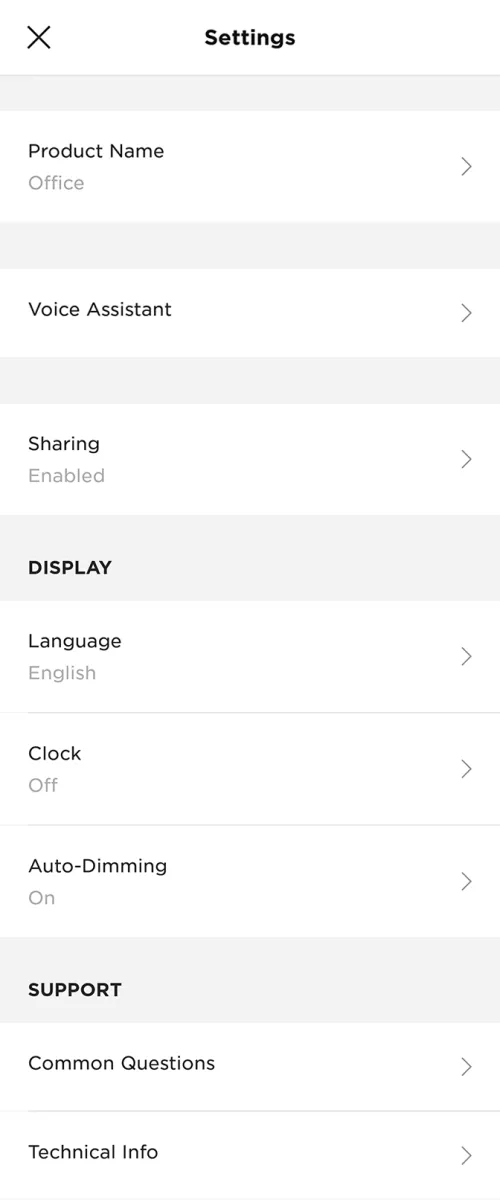
- Select Voice Assistant then select Google Assistant.
Note: Product settings (shown below) will vary depending on the selected product.
- Follow the app instructions to link your Google account:
- During setup, signing in to your Google account links the Google Assistant to your Bose account for Google features (e.g. "Hey Google, what's the weather?" or "Hey Google, set a timer for 10 minutes")
- During setup, signing in to your Bose account links your Bose products to the Google Assistant for so it can control your products (e.g "Hey Google, play jazz on [Bose product name]" or "Hey Google, mute [Bose product name]")
How do I set up Alexa?
To add the Amazon Alexa voice assistant:
Note: If you have multiple products in your household, we recommend setting up the same Alexa account for each product.
- In the Bose app
, tap the Settings icon
in the upper-right corner.
Tip: If a different product is shown, tap the My Bose iconin upper-left corner then select the desired product.
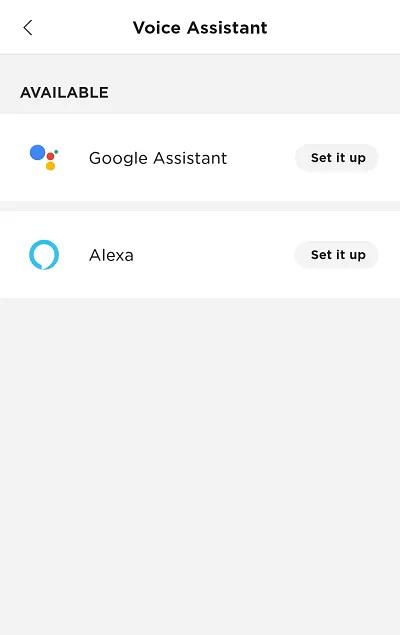
- Select Voice Assistant then select Alexa.
- Follow the app instructions to link your Alexa account.
- During setup, signing in to your Amazon account links your Alexa voice assistant to your Bose account for Alexa features (e.g. "Alexa, what's the weather?" or "Alexa, set a timer for 10 minutes")
- During setup, signing in to your Bose account links your Bose products to your Alexa voice assistant so it can control your products (i.e "Alexa, play jazz on [Bose product name]" or "Alexa, mute [Bose product name]")
- In the Amazon Alexa app, your Bose product appears twice under Alexa Devices. Do not remove either entry: One entry is for Alexa functionality and the other is for Bose product functionality. Additionally, if your product is renamed after initial setup, both entries will have different names in the Alexa app